


Furniture dismantling and rebuilding
Henry and son dismantling furniture
Furniture dismantling and rebuilding is undoubtedly stressful when combined with moving house. Evidently we do not practice moving house and so the reality can be very different to what we thought would happen. Unquestionably dismantling and rebuilding of furniture can be time consuming if it is not given a high degree of importance. Removal companies offer these services and at first glance the charges may seem steep! As a matter of fact the time taken to complete these tasks is pure guesswork and the actual time taken can be enlightening. Here is some hints and tips on dismantling that may help a little.
Dismantling a Bed Frame
Let’s start with the bed, you can get carried away by trying to dismantle the entire frame in one go. Avoid this! We recommend starting from the base of the bed. Take the mattress away and examine the footboard panel. This will either be held in by bolts, or locking nuts and dowels. Start by releasing these on each side and start to pull the baseboard away from the main bed. Now the slats and bed frame can rest on the floor. This will avoid any damage from the whole bed falling apart by trying to remove the whole frame. Repeat this process for the headboard and rest the remainder of the frame on the floor.
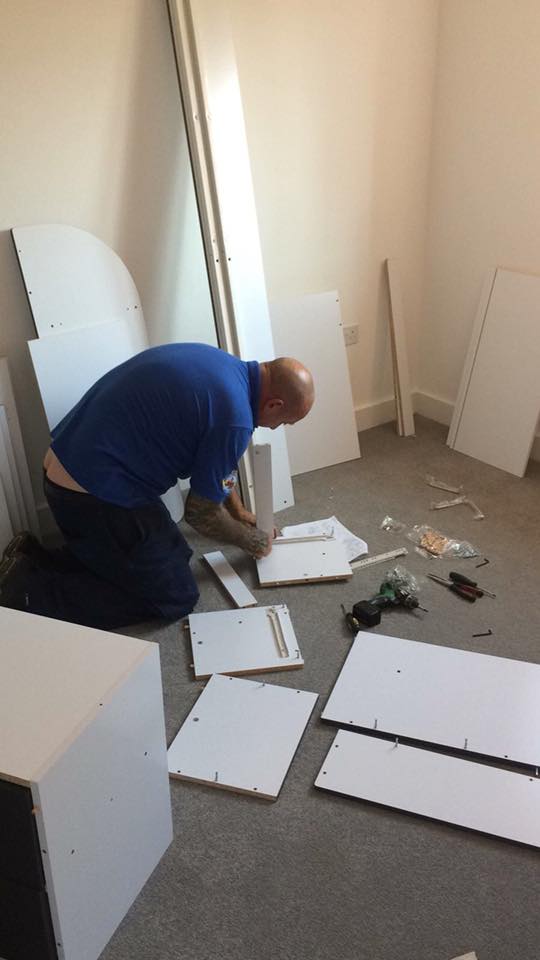
Not all wardrobes are the same!
Depending on the style of bed you will either need to remove the slates from the side panels or lift of the slat frame from the side panels. Make sure you keep the screws and bolts in a secure place that you will keep close by on the day of your move.
Dismantling a Wardrobe
Next let’s try dismantling a wardrobe. Depending on the style of wardrobe you have, you may not need to dismantle your wardrobes ready to be moved. Standard two door wardrobes & Tallboys generally do not need to be dismantled in properties with good access.
Before dismantling the frame of the wardrobe we will need to remove any loose and unfixed shelves. Generally rails and the majority of the shelving can be lifted out. Occasionally you may need to unscrew the rail from the sides of the wardrobes.
Next we will need to remove the doors from the wardrobe. Traditionally built wardrobes will use a Butt hinge, whereas newer build wardrobes tend to have concealed hinges. We would recommend getting someone to hold the door. You can then unscrew it to prevent any unnecessary damage occurring from the door being unscrewed.
Identify and Label the panels
Before we proceed with dismantling we will need to identify how the back panel of the wardrobe is fitted. Most wardrobe panels are tacked on. You will need a pair of pliers to pry them out to safely remove them without damaging the panelling. Other types of back panels are simply slide-in panels that can be removed once the top or bottom of the wardrobe is removed. Then we will need to lay the whole wardrobe flat on the floor. Get get somebody to help you carefully lower the wardrobe onto its from on a flat surface.
Start at the base of the wardrobe and remove any feet and display panels from the bottom of the wardrobe. Next we will need to identify how the wardrobe is being held together.
Wardrobes with Cam Locks
Cam Locks, these are the type of bolt which simply unscrew to a certain position to unlock the screw,. With these types of fixings the side panels are locked onto the base panel. Once you have unlocked the cam locks from both sides (usually two on each side), we can now safely slide the bottom panel away from the wardrobe and rest the detached side panels on the floor.
At this stage slide out the back panels if you have not already done so.
It is recommend you have someone available to hold the top of the wardrobe during this next step. Repeat the same process as before and unlock the cam locks attaching the side panels to the top of the wardrobe. Next with somebody holding the top panel of the wardrobe. Begin to slide the first unlocked side panel from the top of the wardrobe. Once it is safe, remove. Rest it against a wall where it will not fall, repeat this for the opposite wardrobe panel.
Wardrobes with Screw/Bolt panels
An Alternative way to construct a wardrobe is for the side panels to be screwed into the top and bottom panels of the wardrobe. To dismantle this type of wardrobe we simply adjust the way we would dismantle the frame. We would remove one of the side panels from the wardrobe first. Once you have unscrewed the side panel from both the top and bottom of the wardrobe. (The screws are usually found above the top panel and below the bottom of the wardrobe to stop any nasty screws being visible). We can now safely slide the side panel away from the wardrobe and rest the detached top and bottom panels on the floor.
You will need another pair of hands
It is recommend you have someone available to hold the remaining side of the wardrobe during this next step. Repeat the same process as before and unscrew the screw holding the remaining side panel on. Next with somebody holding the side panel of the wardrobe, begin to slide the top panel of the wardrobe from the side panel.
Note. If the wardrobe is going to be stored dismantled for a long period of time, it is advisable to store it either flat on the floor or against a wall on its longest side, this will prevent any bowing of the wood from the panel being stored upright.